Heating Radiator Repair: a Practical Guide
A warm, evenly heated home depends on radiators that are working the way they should, which is why heating radiator repair is one of the most useful home skills you can pick up. Most radiator problems are surprisingly straightforward: cold patches, strange noises, slow leaks, and stuck valves can all be diagnosed with a little observation and fixed with basic tools. This practical guide walks you through the common faults, safe DIY fixes, and the moments when calling a heating professional is the right move.
Key Takeaways
- Cold at the top means trapped air — bleed the radiator with a radiator key to fix it.
- Cold at the bottom means sludge — bleeding will not help; the radiator needs flushing or a professional power flush.
- Small leaks at valves and joints can often be fixed by gentle tightening, but corrosion pinholes usually mean the radiator must be replaced.
- Always switch off the heating and let radiators cool before working on them, and re-check system pressure after any repair.
Diagnosing the Problem First
Every effective heating radiator repair starts with careful diagnosis. Switch the heating on and let the system run for 10 to 15 minutes, then carefully feel each radiator with the back of your hand. Pay attention to the pattern of warmth: a radiator that is cold at the top but hot at the bottom has trapped air; one that is hot at the top but cold at the bottom almost certainly has sludge or sediment blocking the lower section. A radiator that is cold all over while the rest of the house heats up points to a valve problem, and gurgling or hissing noises suggest air in the system or an imbalance in water flow.
Make a quick note of which radiators are affected and how. Problems affecting every radiator at once are usually system-wide — low pressure, a failing pump, or a boiler fault — rather than individual radiator faults, and these are jobs for a qualified engineer.
Bleeding a Radiator to Release Trapped Air
Trapped air is the most common radiator fault and the easiest to fix. Over time, small amounts of air enter the system through the water supply and through minor losses during servicing, and it collects at the top of radiators where it stops hot water from reaching the panel. The classic symptom is a radiator that is warm at the bottom and cold across the top.
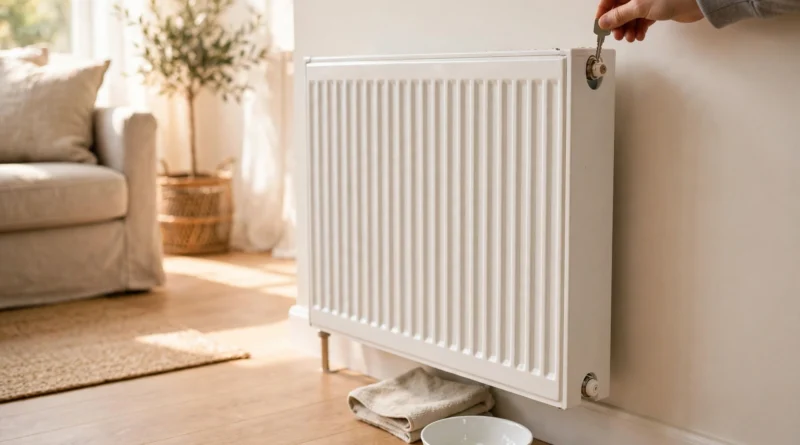
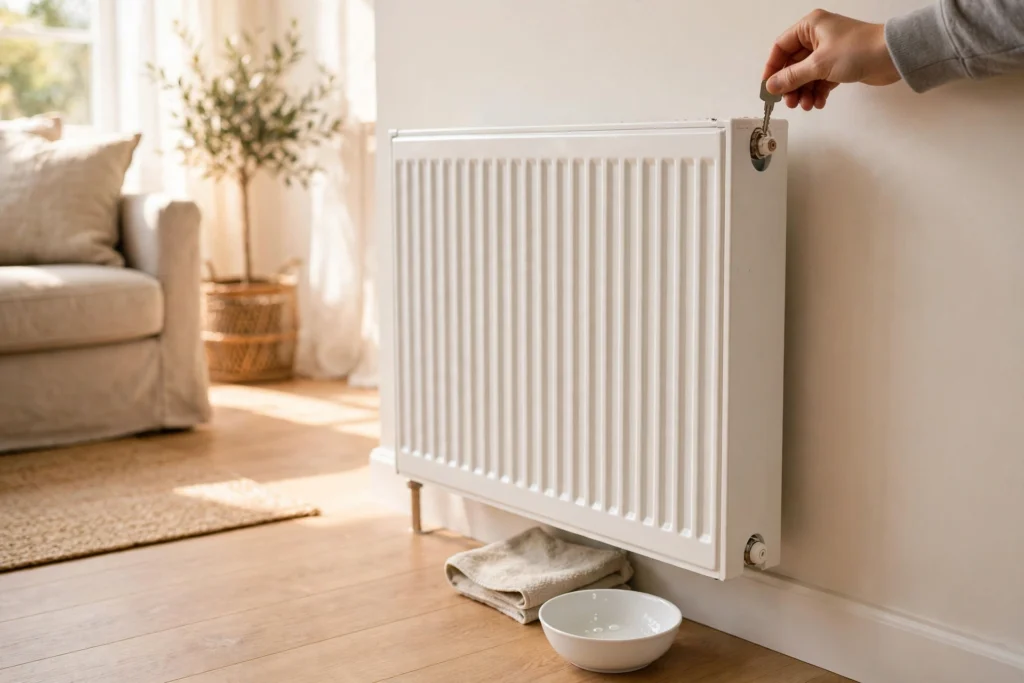
You will need a radiator key (available cheaply at any hardware store), a cloth, and a small container to catch drips. Turn the heating off first and let the radiator cool down fully — bleeding a hot radiator risks scalding from pressurised water or steam. Locate the bleed valve, a small fitting at the top corner of the radiator, and insert the key. Turn it slowly anticlockwise about a quarter turn until you hear a hissing sound as the air escapes. When the hissing stops and water starts to dribble out steadily, close the valve clockwise until it is snug but not overtightened. A detailed step-by-step bleeding guide explains the technique for different valve types.
After bleeding, check your boiler or system pressure gauge. Bleeding always drops the pressure slightly, and most sealed systems should sit between 1 and 1.5 bar when cold. If the needle has dropped below the normal range, top the system up with the filling loop according to your boiler’s manual, then bleed the radiators once more briefly in case refilling introduced fresh air.
Dealing With Sludge and Cold Spots at the Bottom
If bleeding made no difference to a radiator that stays cold at the bottom, the cause is sludge — a heavy mix of magnetite (iron oxide from internal corrosion), rust flakes, and sometimes limescale that settles where hot water cannot reach. Because bleeding only releases air from the top, it will never fix a cold bottom.
For a single badly affected radiator, you can remove and flush it yourself if it has isolating valves at both ends. Turn the heating off and let everything cool, close both valves, and carefully disconnect the radiator over towels and a bucket — it will still contain dirty water. Take it outside and flush water through one end with a garden hose until it runs clear, then rehang it, reopen the valves, top up the pressure, and bleed it. If several radiators show the same symptom or the water runs black, the sludge is system-wide and a professional power flush is the realistic fix; this is also a good time to ask an engineer about a magnetic filter, which traps magnetite continuously and protects the system going forward. A useful overview of common radiator issues and how to fix them covers cold spots, leaks, and valve faults side by side.
Fixing Leaking Radiators and Valves
Radiator leaks are easy to spot: look for small puddles, damp patches, or white mineral stains around pipe joints and valve connections. The most frequent causes are loose compression nuts, worn seals, or perished gland packing inside a valve. Often the fix is as simple as gently tightening the nut or fitting by a quarter turn — over-tightening can crack a fitting, so go carefully.
Leaks from the valve body itself, where the spindle enters the valve, can sometimes be stopped by tightening the small gland nut beneath the valve head. If a radiator is leaking from the panel — pinholes or weeping seams — the cause is internal corrosion, and no sealant is a lasting fix. A pinhole means the wall of the radiator has thinned, and the honest repair is to replace the radiator rather than patch it. While you wait for a replacement, keep a towel under the drip and check it regularly.
Sorting Out Stuck or Faulty Thermostatic Radiator Valves
A thermostatic radiator valve (TRV) controls the water flow into the radiator based on the room temperature, and a stuck one is a frequent reason a radiator stays stone cold while the rest of the house warms up. The numbered head contains a small pin that moves up and down; after months of sitting still over summer, this pin can seize in the closed position.
Remove the valve head — it usually unscrews or clips off by hand — and check the pin underneath. Press it gently; it should move freely and spring back. If it is stuck, a light tap or careful wiggle can free it, but do not force it with tools, and if the valve head itself is broken or the valve leaks once moving, plan to have the valve replaced by a professional. Keep the area around TRVs clear of curtains and furniture so the head senses the true room temperature rather than trapped heat.
Balancing Radiators That Heat Unevenly
If some rooms heat up much faster than others, or one radiator runs very hot while another is lukewarm all over, the system may need balancing. This means adjusting the lockshield valves — the valves on the opposite end from the TRV, usually hidden under a cap — so that hot water is shared fairly around the circuit.
The basic method is to note how many turns each lockshield is open from closed, then partially close the valves on the radiators nearest the boiler so that water reaches the farthest ones too. Work gradually, opening or closing by a quarter turn at a time and waiting 20 minutes between adjustments, until temperatures feel even across the house. Balancing is a maintenance task rather than an emergency repair, and it is worth doing any time radiators have been moved, replaced, or drained.
Knowing When to Call a Professional
Many radiator faults are safe DIY jobs, but there are clear lines you should not cross. Call a qualified heating engineer if you see any of the following: a boiler pressure that keeps dropping even after refilling, which suggests a leak elsewhere in the system; any work involving the boiler itself, a sealed hot-water cylinder, or gas components; widespread corrosion or multiple leaking radiators, which indicate systemic problems; and any electrical wiring connected to pumps or controls.
It is also worth getting a professional opinion if you find yourself bleeding the same radiators every few weeks — frequent reappearance of air usually signals a slow leak, a faulty automatic air vent, or hydrogen gas generated by corrosion reacting with water, none of which a bleed key will cure. If you decide to bring in help, understanding typical repair cost ranges helps you compare quotes confidently, and a quick fuel cost estimate shows how much an inefficient heating system may be costing you each season.
Frequently Asked Questions
What should you know about heating radiator repair?
Start with diagnosis before you touch a tool: the pattern of warmth tells you the fault. Cold at the top is trapped air and is fixed by bleeding; cold at the bottom is sludge and needs flushing; cold all over usually means a stuck valve. Most repairs need only a radiator key, an adjustable spanner, and a cloth, plus patience to let the system cool down first.
What are the key things to consider for heating radiator repair?
Safety comes first: always switch the heating off and let radiators cool before working on them, and never open a bleed valve on a hot radiator. Check and restore system pressure after bleeding or refilling. Know your limits — gas, boiler internals, and pressurised cylinders are professional-only work, while bleeding, flushing a single radiator, tightening fittings, and freeing stuck valve pins are realistic DIY tasks.
How can you make the most of heating radiator repair?
Repair proactively rather than waiting for cold weather to expose problems: bleed radiators and check pressure at the start of each heating season, keep TRVs exercised and unblocked, and add inhibitor to the system water to slow internal corrosion. Fixing small faults early keeps the whole system efficient, warms rooms faster, and helps avoid the much bigger job of replacing a corroded radiator or flushing an entire system.
Conclusion
Heating radiator repair is rarely as daunting as it first appears. A bleed key and a few minutes of careful observation solve the most common fault — trapped air — while gentle tightening, a free valve pin, and a sensible balancing pass deal with most of the rest. The key is to diagnose by feel and pattern, to respect the safety basics, and to recognise when sludge, corrosion, or a boiler fault calls for professional equipment and experience. Treat your radiators to a seasonal check, and they will repay you with even, reliable warmth when you need it most.