Heated Water Hose for RV: What to Know
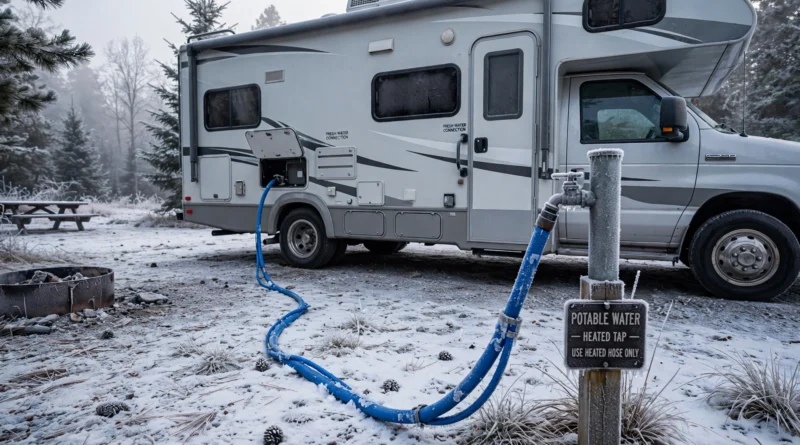
If you camp into the colder months, a heated water hose for RV can be the difference between a cozy trip and a frozen plumbing disaster. When temperatures dip below freezing, an ordinary drinking-water hose turns into a solid block of ice within hours — cutting off your water supply and, worse, risking burst fittings and cracked connections that are expensive to repair. A heated hose solves this with a built-in heating element that keeps water flowing to your RV even when the thermometer drops. Here is everything you need to know before you buy one and how to use it safely.
Key Takeaways
- A heated water hose for RV has an embedded heating element that keeps drinking water flowing in subfreezing temperatures.
- Most heated RV hoses plug into a standard 120-volt outlet and should always be used with GFCI protection.
- Match the hose length and temperature rating to your campsite setup and the coldest weather you expect.
- Insulating the fittings at both ends and using a water pressure regulator are small steps that prevent big problems.
What Is a Heated Water Hose for RV?
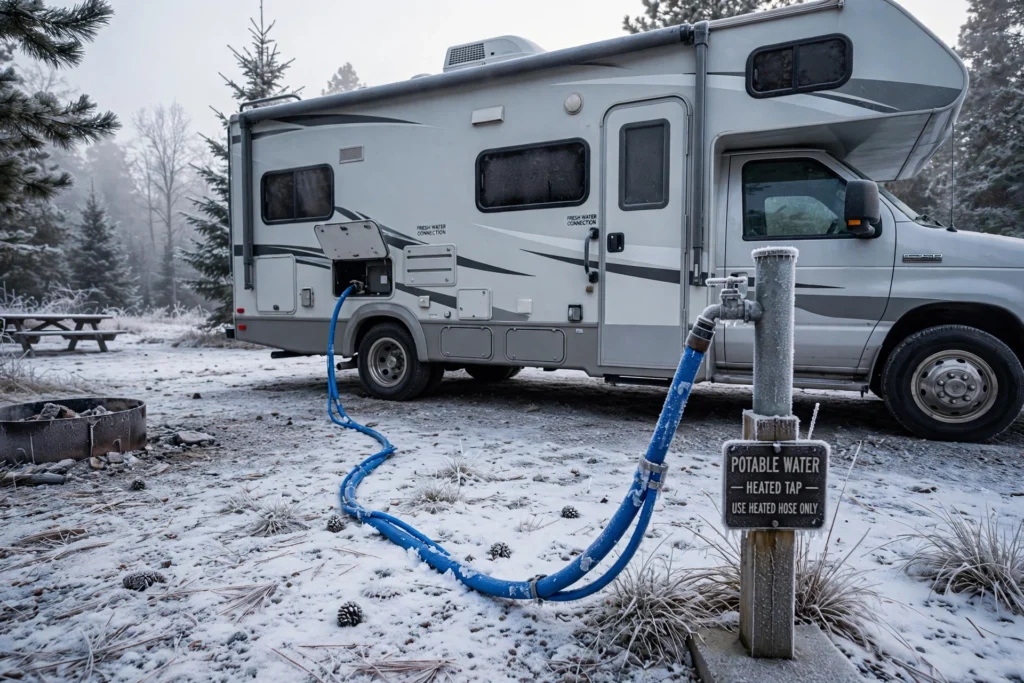
A heated water hose for RV is a drinking-water-safe hose with an electrical heating element built into its construction. The heating cable runs along the length of the hose, usually under an insulating outer jacket, and plugs into a standard 120-volt AC outlet — the kind of shore power connection you find at most full-hookup campsites.
The result is simple: water inside the hose stays above freezing as it travels from the campground spigot to your RV’s city water inlet. Many models use self-regulating heating cable, which automatically adjusts its heat output based on the surrounding temperature. When it gets colder, the cable draws more current and produces more heat; when it warms up, it backs off to conserve electricity. That means you don’t need an external thermostat or timer — the hose manages itself.
Typical temperature ratings range from about -20°F to as low as -40°F or colder depending on the model and construction. Hoses usually come in lengths of 12 to 50 feet, with 25 feet being the most common choice since it covers the distance at most campsites without excess hose lying around.
When Do You Actually Need One?
The honest answer: any time the overnight low is forecast at or below freezing. Water begins freezing at 32°F, and an unprotected hose lying on cold ground can freeze solid in a matter of hours once temperatures stay in the 20s.
You are most likely to need a heated hose if you:
- Camp in the late fall or winter and stay connected to city water overnight.
- Travel through high elevations or northern states where nighttime lows drop below freezing even in spring or autumn.
- Full-time in an RV and want a permanent cold-weather water solution rather than filling and disconnecting every evening.
- Store or stay in your RV during shoulder seasons, when days are mild but nights are frosty.
If you only face the occasional light frost, you can get by by filling your fresh water tank and disconnecting the hose before bed. But if freezing temperatures are a regular part of your travel plans, a heated water hose for RV use is a worthwhile investment — the cost of a hose is far less than the cost of repairing a frozen, split water line. For more cold-season RV planning, see our guide to RV storage preparation and fall road trip tips.
How a Heated RV Water Hose Works
The mechanics are straightforward. Inside the hose, a heating wire — similar in concept to the heat tape used on household pipes — runs along the water channel. When plugged in, the wire warms the water inside just enough to prevent ice crystals from forming.
Self-regulating cable is the key technology to understand. As Camping World explains in its guide to winter RV camping, heated hoses with self-regulating elements adjust their heat output to the conditions, keeping water flowing without constant monitoring. Insulated sleeves or cuffs at the ends protect the metal fittings, which the heating cable does not cover and which freeze faster than the hose itself.
Power draw is modest — typically well under 200 watts — but it is continuous whenever the hose is plugged in. You will need a reliable 120-volt source: a pedestal outlet at your campsite, a generator, or an inverter setup sized for the load.
Choosing the Right Hose: Length, Rating, and Certifications
Picking the right heated water hose for your RV comes down to three decisions:
- Length: Measure the typical distance from the campground spigot to your RV’s water inlet, then add a few feet of slack. A 25-foot hose suits most sites. Going longer than you need wastes electricity and creates bulky coils; going too short forces you to stretch the hose, which stresses the fittings.
- Temperature rating: Buy for the coldest weather you realistically expect, with margin. If you camp where nights reach -10°F, a hose rated to -20°F gives you a comfortable buffer.
- Drinking-water safety: Look for hoses certified for potable water use (for example, NSF/ANSI 61 or similar drinking-water standards). Not every heated hose on the market is rated for drinking water, and you do not want to drink from one that isn’t.
Also check the connector type and whether the hose includes insulated cuffs for the fittings. Reviews and buying guides, such as the roundup of heated hoses for RV water supply, can help you compare construction details like five-layer insulation and evenly distributed heating elements before you buy.
Setting Up a Heated Water Hose Safely
Safe setup matters more than people think. Follow these steps every time you connect:
- Use GFCI protection. Always plug the heating cable into an outlet with Ground Fault Circuit Interrupter protection. Manufacturer instructions — including those from hose makers like Valterra — list GFCI protection as a core safety requirement.
- Connect water before power. Thread the hose onto the spigot, run it to your RV inlet, turn the water on, and check for leaks first. Only then plug in the heating cable.
- Protect the fittings. The heating cable keeps the hose warm but not the exposed metal couplings. Slide insulated cuffs over both ends, or wrap them with foam pipe insulation. The spigot itself and the plumbing feeding it are not protected by the hose — cover those too in hard freezes.
- Use a water pressure regulator. Campground water pressure varies widely and can exceed what your RV’s plumbing is designed to handle. A regulator at the hose bib is cheap insurance.
- Keep connections dry. The electrical plug and cord must be dry when you connect them, and the hose should not be run where it will be stepped on or driven over.
- Shut off water when you leave. If you leave the RV unattended for a long stretch, shut off the water supply as a precaution.
Care, Storage, and Maintenance
When the season ends or freezing weather passes, unplug the hose, drain it completely, and coil it for storage out of direct sun. Storing it with water inside can grow biofilm and may freeze if temperatures surprise you during storage.
Before each cold season, inspect the full length of the hose, the electrical cord, and the plug for cracks, fraying, or damage. Do not use a heated hose if the plug, cable, or hose is damaged, and never cut or splice the electrical cord. Flush the hose for several minutes before connecting it to your RV each season to clear anything that settled during storage.
Some owners add an extra layer of foam or foil insulation around the whole hose for long stretches of subzero weather. Check your hose’s manual first — most manufacturers advise following their recommendations before adding insulation on top of the built-in jacket.
What If You Don’t Have a Heated Hose?
A heated hose is the most convenient solution, but it is not the only one. If you are caught by an unexpected cold snap, fill your fresh water tank and disconnect the hose entirely before temperatures drop. Drain the hose before storing it so it doesn’t freeze into a rigid coil overnight. Many modern RVs also have heated holding tank pads or ducted heat into the underbelly compartments, which protect the water inside your tanks.
These workarounds are fine for occasional freezes. But for regular cold-weather camping, they get old fast — disconnecting, draining, and reconnecting every night is a chore, and one forgotten evening can mean a frozen line. That’s when a dedicated heated water hose for RV camping pays for itself in convenience alone.
Frequently Asked Questions
What should you know about heated water hose for rv?
The essentials: a heated water hose for RV is a drinking-water-safe hose with a built-in electric heating element that prevents your water supply from freezing when temperatures drop below 32°F. It plugs into a standard 120-volt outlet (always with GFCI protection), connects between the campground spigot and your RV’s water inlet, and most models use self-regulating cable that adjusts its heat output automatically. Buy one rated for drinking water and for the coldest temperatures you expect.
What are the key things to consider for heated water hose for rv?
Focus on three things. First, length — a 25-foot hose fits most campsites; measure your typical setup rather than guessing. Second, temperature rating — choose a rating comfortably below the coldest weather you expect, since ratings like -20°F or -40°F are the lower limit, not the comfort zone. Third, safety setup — GFCI outlet, water pressure regulator, insulated fittings at both ends, and keeping electrical connections dry. Power requirement matters too: the hose needs continuous 120-volt AC, so it isn’t useful for boondocking without a generator.
How can you make the most of heated water hose for rv?
Get the full value from your hose by treating it as part of a winter-ready water system, not a standalone fix. Insulate the exposed fittings and the campground spigot, use a water pressure regulator, and keep the hose elevated off frozen ground where practical. Inspect the hose, cord, and plug each season, drain and coil it for storage, and disconnect and shut off the water when the RV will be unattended. Combined with a filled fresh water tank as backup and basic winter RV preparation, a heated hose lets you camp comfortably well below freezing.
Conclusion
A heated water hose for RV is a small piece of gear that solves a big cold-weather problem: frozen water lines. By understanding how it works, choosing the right length and temperature rating, and setting it up safely with GFCI protection and insulated fittings, you can keep water flowing through the coldest nights of the camping season. Whether you’re extending your fall travels or wintering in your rig, it is one of the simplest upgrades you can make for a warmer, worry-free trip.