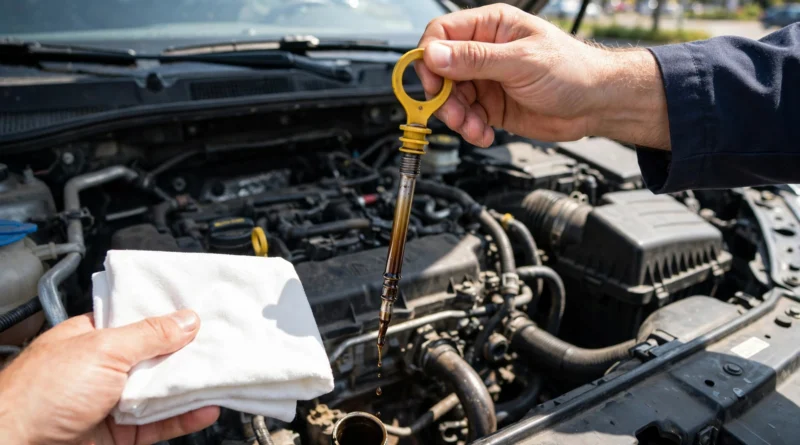
How to Check Oil in Your Car: A Step-by-Step Dipstick Guide
Direct Answer
To check oil in your car, park on level ground, switch the engine off and let it settle, then pull the dipstick out, wipe it clean, push it fully back in, and pull it out again. Read the oil level on the second pull: it should sit between the low and full marks. If it is at or below the low mark, add the grade of oil your owner’s manual specifies, a little at a time, and recheck.
Key Takeaways
- Always check oil on level ground with the engine off. A slope or a running engine gives a false reading.
- The first pull of the dipstick is not your reading. Wipe it, reinsert it fully, and read the second pull.
- Between the low and full marks is fine. You do not need to top up to the very top mark.
- Dark oil alone does not always mean trouble, but milky, gritty, or burnt-smelling oil means get the car checked.
- Your owner’s manual beats any general guide: it gives your car’s exact oil grade, capacity, and checking procedure.
What You Need to Check Oil
You need almost nothing, and the whole check takes about five minutes: a clean rag or a few paper towels; your car’s owner’s manual, at least the first time, so you know where the dipstick is and which oil grade your car takes; the correct engine oil, only if you expect to top up (check the manual or the oil filler cap for the grade). Gloves are optional but keep your hands clean.
Do not start the job without a rag: you need it to wipe the dipstick, and it is also how you judge the oil’s colour and texture.
How to Check the Oil Level in Your Car, Step by Step
If you have ever wondered, how do I check the oil? this is the whole method. It is the same wipe-dip-read routine that garages and motoring organisations teach, and it works on almost every car that has a dipstick.
Step 1: Park on level ground and switch the engine off
Park on flat, level ground, put the car in Park (or in gear with the handbrake on for a manual), and switch the engine off. A slope lets oil pool to one side of the sump, so the dipstick reads falsely low on one side and falsely high on the other. Never check oil with the engine running: the reading will be wrong, and you risk hot oil spray and debris getting into the open tube.
Step 2: Let the oil settle
Wait a few minutes after switching off so oil drains back into the sump. Many guides suggest 5 to 10 minutes after driving; AAA’s guidance is to check with the engine cold and not running, and to wait at least an hour after driving for the most settled reading.
Either way, the point is the same: do not check the moment you stop. A few makes specify a warm-engine check instead, so if your manual gives a different procedure, follow the manual.
Step 3: Find the engine oil dipstick
Open the bonnet and look for a dipstick with a bright handle, usually yellow or orange, near the engine. Do not confuse it with a transmission fluid dipstick if your car has one: the engine oil dipstick is the one you want, and your manual shows its exact position. If you cannot find it, stop and check the manual rather than pulling the wrong stick.
Step 4: Pull it out and wipe it clean
Pull the dipstick fully out and wipe the whole blade clean with your rag. This first pull only clears oil that has splashed up the tube while driving. It is not a reading, and judging the level from it is the single most common mistake.
Step 5: Push it fully back in, then pull it out again
Push the clean dipstick all the way back into its tube until the handle seats fully. A dipstick that is not fully seated reads low. Pull it out again in one smooth movement, holding it level or tip-down so oil cannot run back across the marked area.
Step 6: Read the level against the marks
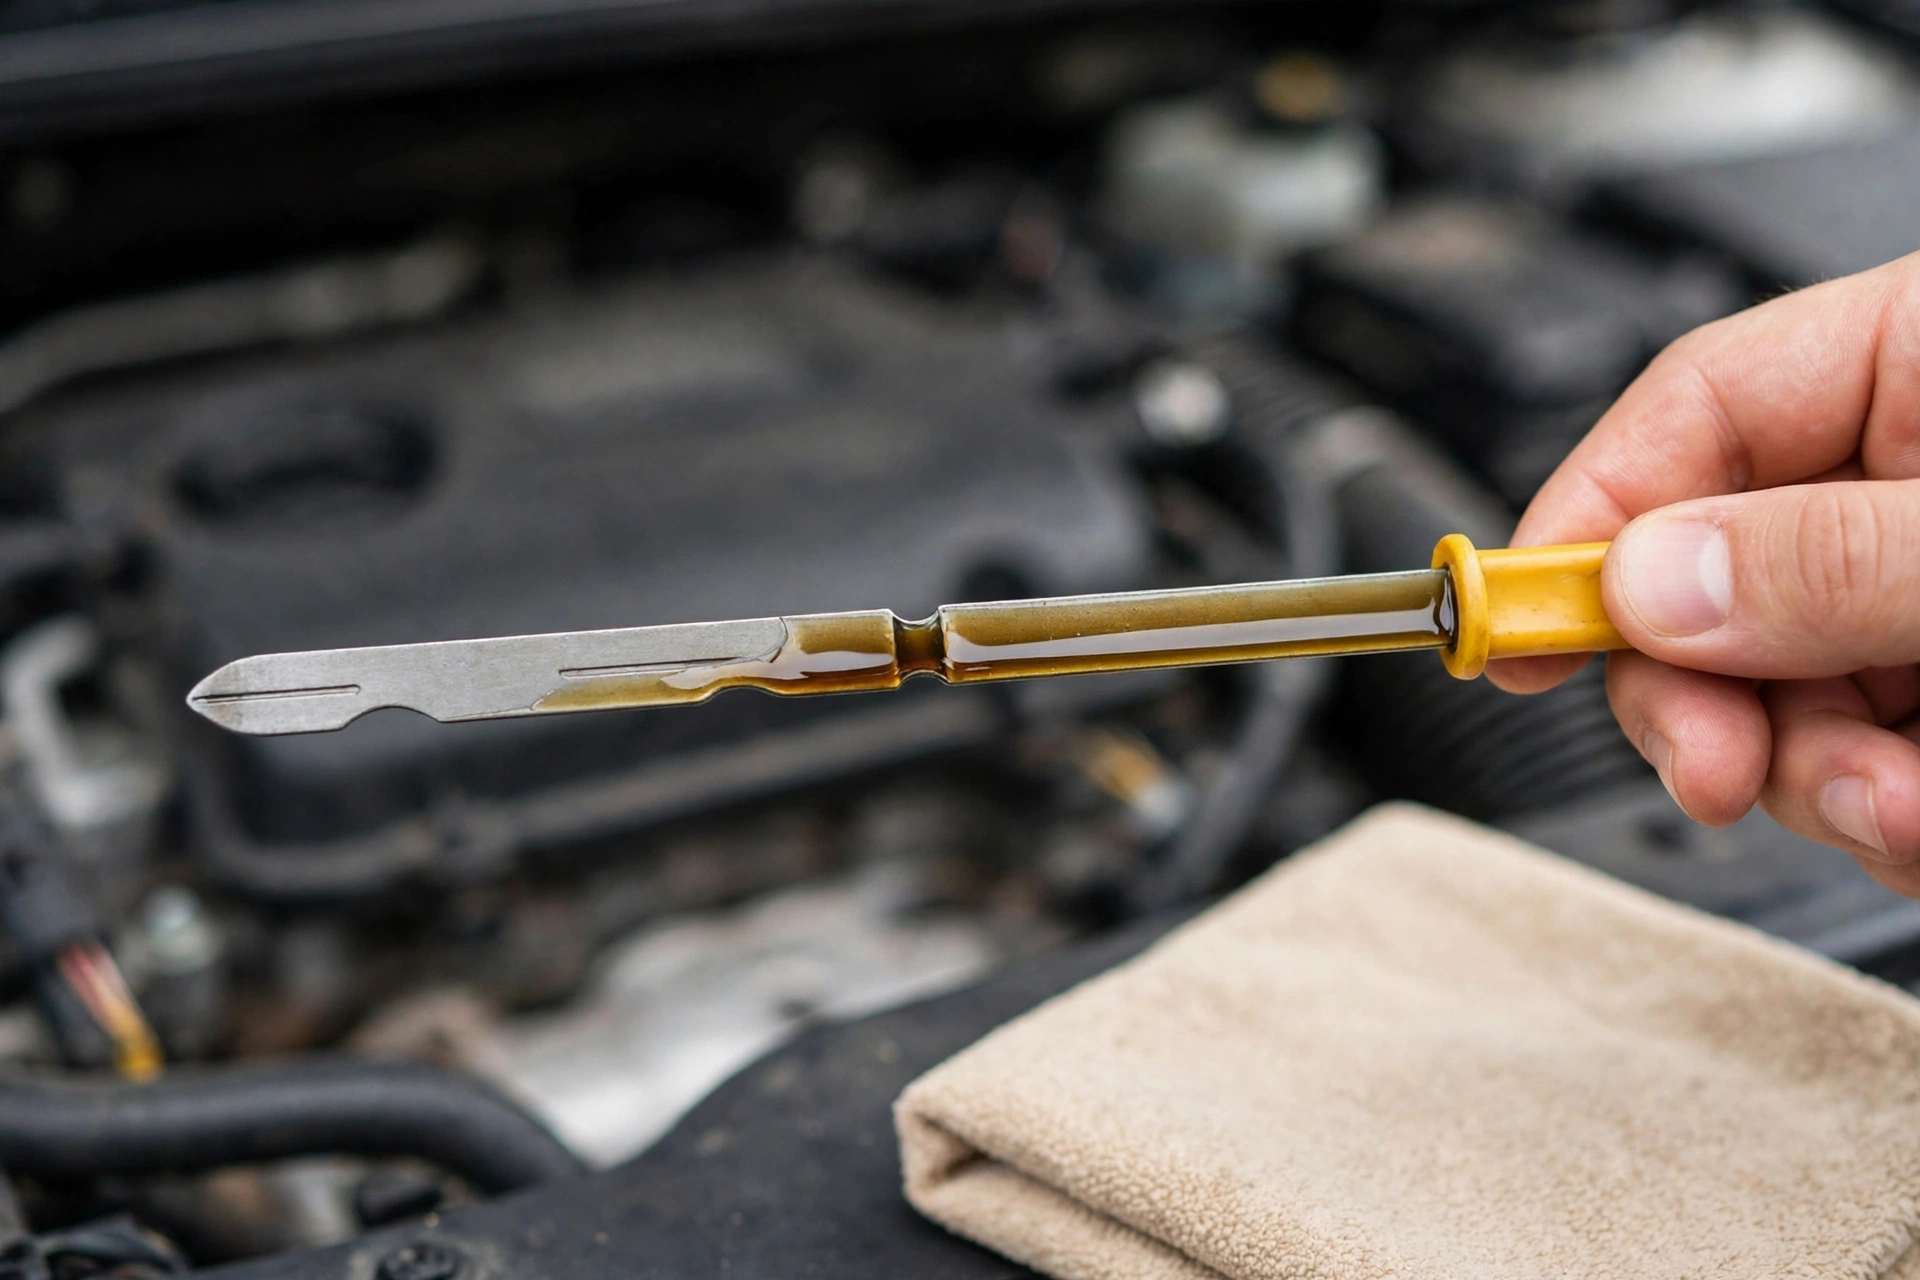
Look at where the fresh oil streak ends on the tip of the dipstick. Read both faces if you can: if they disagree, the higher one is usually smeared oil from the tube, so repeat the wipe-dip-read once more and trust two matching readings over one hopeful one. Push the dipstick fully back in when you are done and close the bonnet.
How to Read a Dipstick: What the Marks Mean
Manufacturers never standardised dipstick marks, so yours may look different from a friend’s car. The meaning, however, is always the same: the oil level should sit inside the marked band.
| MIN and MAX | the acceptable band runs between the two marks |
| L and F (Low and Full) | between Low and Full is fine |
| Two holes or dots | the oil should reach between the lower and upper hole |
| Crosshatched section | the whole hatched area is the acceptable band |
The level does not have to sit exactly on the top mark. Anywhere inside the band is a safe level. AAA notes that on most cars, about a quart of oil raises the level from the lower mark to the upper mark, but that amount varies by car, so treat it as a rough guide, not a rule, and always recheck after topping up.
What Your Oil’s Colour Tells You
While the dipstick is out, look at the oil on your rag. Colour alone does not tell the whole story, but it tells you when to pay attention.
| Clear amber or light brown | Fresh, healthy oil, nothing to do, keep your normal check routine. |
| Dark brown or black | Oil that has been doing its job and collecting soot; check when your next service is due; dark oil is normal as oil ages and does not by itself prove the oil has failed. |
| Milky or creamy | Coolant may be mixing with the oil; get the car checked promptly; this is a warning sign, not a top-up job. |
| Gritty or metallic particles | Possible internal wear or heavy contamination; get the car checked promptly; do not just add fresh oil and carry on. |
| Burnt smell | Oil that has overheated or broken down; book a service and mention the smell. |
Rub a little oil between your fingers if you are unsure: clean oil feels smooth, while gritty oil feels like it has fine sand in it. A strong smell of fuel in the oil is also worth mentioning to a mechanic, since fuel dilution thins the oil.
How Often Should You Check Oil?
There is no need to check daily, but a regular habit catches a slow leak or a thirsty engine before it becomes engine damage. Use this as a starting point, then adjust to your car.
| Normal driving, newer car in good condition | at least once a month |
| Older or high-mileage car, or a car that uses oil | every 1 to 2 weeks |
| Before a long road trip or towing | always check before you leave |
| After an oil change | within a day or two, to confirm the level and spot any leak |
| Warning signs: burning smell, oil light, ticking noise, spots under the car | straight away, not at the next scheduled check |
When you first get a car, checking weekly for a month is a smart way to learn whether your engine uses oil at all. If the level never drops, monthly checks are enough. If it drops steadily, you have a consumption pattern worth knowing about, and a mechanic can tell you whether it is normal for your engine or a problem.
What to Do If Your Oil Is Low
If the level is at or below the low mark, do not panic, but do not ignore it either.
- Check your manual for the exact oil grade and specification your car needs. The filler cap often shows the viscosity too, but the manual is the authority.
- Remove the oil filler cap and add a small amount at a time, using a funnel so you do not spill oil over the engine.
- Wait a minute, then recheck with the wipe-dip-read method. Repeat in small additions until the level sits inside the band. Do not pour in a large amount and hope.
- Refit the filler cap and the dipstick fully, and note the date and how much you added. A simple log shows whether the level keeps dropping.
If you are constantly topping up, that is the symptom to act on, not just the low reading. A car that needs oil every few weeks may have a leak or may be burning oil, and a mechanic should find out which.
What If the Oil Level Is Too High?
Too much oil is not a safety margin. When the level sits above the full mark, the spinning crankshaft can whip the oil into foam, and foamy oil does not lubricate properly. Overfilling can also raise pressure inside the engine and push oil past seals.
If your reading is above the full mark, do not just drive and hope it burns off. If it is only slightly over, some owners have the excess drained at a garage; if it is well over, have it corrected before a long drive. If the level rose on its own since your last check, mention it to a mechanic, since fuel or coolant getting into the oil can raise the level and dilute it.
How to Check Oil in a Car With No Dipstick
Some newer cars have no dipstick at all and measure the oil level electronically instead. In that case you cannot do the wipe-dip-read check, but you can still check the level.
The usual method is through the car’s dashboard or infotainment menu, often under vehicle information or vehicle status, with the car on level ground and the engine in the state your manual specifies (many systems want the engine warm and running). Your manual gives the exact menu path and conditions, and those conditions matter: an electronic reading taken on a slope or with a cold engine can be just as misleading as a bad dipstick reading.
Do not ignore a low-oil warning on a dipstick-free car just because you cannot verify it by hand. The warning is the check. If the sensor itself seems wrong, for example the reading jumps wildly or disagrees with a recent service, get it diagnosed rather than driving on an assumed reading.
Common Mistakes When Checking Oil
- Reading the first pull instead of the wiped second pull.
- Checking on a slope, or with the engine running or just switched off.
- Pulling the transmission dipstick by mistake.
- Topping up with the wrong grade because the bottle was handy rather than the grade the manual specifies.
- Overfilling past the full mark in the belief that more is better.
- Leaving the dipstick half-seated, which lets dirt into the tube and gives a low reading next time.
- Waiting for the oil warning light. The light often means pressure has already dropped, which is far later than a low dipstick reading. Check before the light ever comes on.
Check Oil Before a Long Trip
An oil check belongs on the same pre-trip list as tyres, coolant, and packing. Before a long drive, check the oil a day or two early, not in the driveway five minutes before leaving, so a low reading or a warning sign leaves time for a top-up or a garage visit.
Once the car is sorted, the fun part starts: picking where to go and what to pack. If you are still choosing a destination, our guide to the best places for vacation helps match a trip to your budget and travel style, and our weekend trip packing list covers what to pack for two to three days without overpacking.
Frequently Asked Questions
Can I check oil when the engine is hot?
You can check after driving, but wait several minutes first so the oil drains back and hot parts cool enough to work around safely. Checking with the engine cold, before the first start of the day, also gives a clean reading. What you should not do is check with the engine running.
Does a good oil level mean I do not need an oil change?
No. The dipstick shows level, not remaining life. Oil still ages and collects contaminants even if the level stays perfect, so follow your car’s service interval and your manual, not the dipstick alone. AAA’s maintenance guidance puts typical oil-change intervals at 5,000 to 7,500 miles under normal driving conditions, but your manual’s interval for your car is the one to follow.
What should I do if the oil warning light comes on?
Stop as soon as it is safe, switch the engine off, and check the level once the engine has cooled a little. If the level is low, add the correct grade if you have it. If the level looks fine but the light stays on, or if you hear knocking or ticking, do not drive on: have the car recovered or towed to a garage, since low oil pressure can damage an engine quickly.
Conclusion
Learning how to check oil is a five-minute habit that protects the most expensive part of your car. Park level, engine off, wipe-dip-read, and keep the level inside the marks. Check monthly, check before long trips, and check more often on an older car or one that uses oil.
When the reading or the oil itself looks wrong, milky, gritty, or persistently dropping, that is not a top-up problem, it is a garage problem. Your owner’s manual fills in the details no general guide can: the grade, the capacity, and the exact procedure for your car. Use it, and the dipstick will never surprise you.
If the car will not start at all, see our guide on how to jump start a car battery.
If the car still will not start after checking the oil, use our guide to diagnosing a car that won’t start by sound and symptom to find the likely cause.
Before buying a used car, also learn how to look up a VIN number.
Sources and further reading
AAA’s five-step guide to checking your car’s oil and Chase’s guide to checking oil in a car both teach the same wipe-dip-read method used above: AAA: 5 Easy Steps to Check Your Car’s Oil and Chase: How to Check Your Oil.
Once you know how to check the level, the next question is timing: see our guide to how often you should change your oil for the mileage and months intervals for synthetic, blend and conventional oil.
Related reading: while you are under the bonnet, if the air conditioning is blowing warm, our guide to car AC repair explains the signs, costs and checks to run before you pay.
If a dashboard warning light is on as well, see our guide to why your check engine light is on and what to do next.